[RaspberryPi zero W] Add ethernet interface with WIZ850io
I will summarize how to add Ethernet by connecting I/O module to Raspberry Pi zero W (RPI zero).
The product is a module called WIZnet’s WIZ850io, which is based on the W5500 Ethernet chip and includes an RJ45 connector.

The W5500 is an Ethernet controller chip with hardwired TCP / IP and supports SPI communication. It helps to easily add internet connection to embedded system.
Details of the WIZ850io module can be found on the link below.
Development environment
The development environment is as follows. Raspbian used the 2018-03-13 version, not the latest version, for kernel compatibility testing.
-
Ubuntu 16.04 64bit VM (for cross-compile)
-
Raspbian version
- 2018-03-13-raspbian-stretch-lite (Linux kernel 4.9.80+)
Pin connection
Below is the pin connection information of RPI zero and WIZ850io.
Each pinmap can be found at the following link. For RPI zero, the direction may be confusing, from the side with the micro sd card slot to the one.
| RPI zero | WIZ850io |
|---|---|
| 6 (GND) | GND |
| 1 (3.3V) | 3.3V |
| 23 (SPI0_SCLK) | SCLK |
| 19 (SPI0_MOSI) | MOSI |
| 21 (SPI0_MISO) | MISO |
| 18 (BCM24) | RSTn |
| 15 (BCM22) | INTn |
| 24 (SPI0_CE0) | SCNn |
If all the pins are connected, it will look like the picture below.

Raspberry pi kernel compile
How to compile the kernel for Raspberry pi is explained in the link below.
This article briefly summarizes the cross compile method for RPI zero.
Host Cross-compile in ubuntu environment.
Required package installation and toolchain setup
$ sudo apt-get install git bc
$ sudo apt-get install libncurses5-dev libncursesw5-dev

# Install toolchain
$ git clone https://github.com/raspberrypi/tools ~/tools
$ echo PATH=\$PATH:~/tools/arm-bcm2708/gcc-linaro-arm-linux-gnueabihf-raspbian-x64/bin >> ~/.bashrc
$ source ~/.bashrc
Kernel source download
I set up a version of the branch to download to match the version of the Raspbian image to use and the kernel version.
For reference, the kernel information for each Raspbian version can be found at the following link:
# Download specific version
git clone --depth=1 --branch rpi-4.9.y https://github.com/raspberrypi/linux

# Download latest version
git clone --depth=1 https://github.com/raspberrypi/linux
Kernel configuration (For RPI zero)
Once the download is complete, proceed to the kernel configuration and menuconfig settings for the W5500 driver.
$ cd linux
$ KERNEL=kernel
$ make ARCH=arm CROSS_COMPILE=arm-linux-gnueabihf- bcmrpi_defconfig

# W5500 driver configuration
$ make ARCH=arm CROSS_COMPILE=arm-linux-gnueabihf- menuconfig
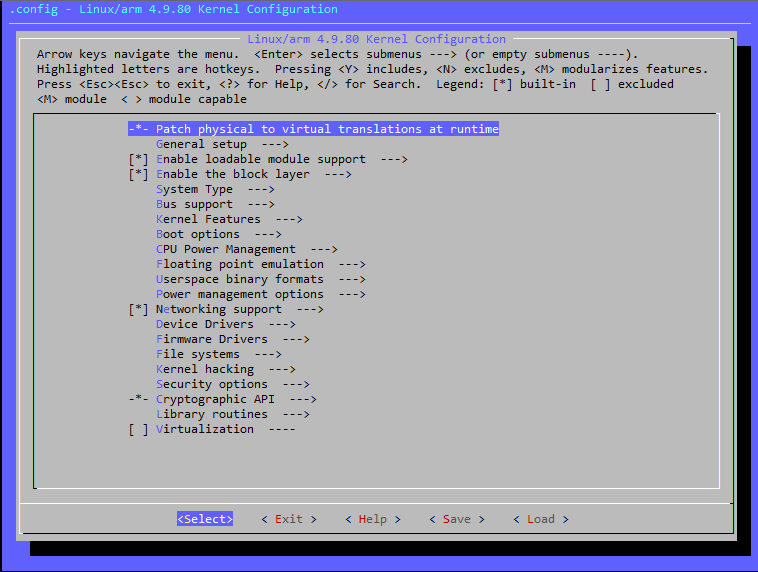

Type ‘/’ to display the search box, and search for the ‘wiznet’ keyword.
In the search results, you can move the page by pressing the direction key or page up/down button.

Activate both options here.
Select ‘WIZnet W5100 Ethernet support’
If you enable the above option, the following options will appear.
Select ‘WIZnet W5100 / W5200 / W5500 Ethernet support for SPI mode’
You can also select a new option.


Kernel compile
When the setting is completed, proceed with compile with below command.
$ make ARCH=arm CROSS_COMPILE=arm-linux-gnueabihf- zImage modules dtbs -j4
It takes a long time to complete the compilation. It took about 30 minutes to an hour, depending on the PC specification.
The kernel images and modules we will use are created in the following path, respectively. Copy the following files to raspberry pi.
- Kernel image:
- linux/arch/arm/boot/zImage
- modules:
- linux/drivers/net/ethernet/wiznet/w5100.ko & w5100-spi.ko
There is also a way to copy directly using sd card, but since there are not many files here, we will use a file transfer tool called ** scp **. At this time, RPI zero and PC communication should be possible.
Copy the file using the following command.
$ scp arch/arm/boot/zImage pi@<RPI zero IP address>:/home/pi
$ scp drivers/net/ethernet/wiznet/*ko pi@<RPI zero IP address>:/home/pi
Apply custom kernel
When you enter RPI zero’s home directory (/home/pi), there will be zImage and w5100.ko and w5100-spi.ko files copied through scp. Check with the command:
$ cd ~
$ ls -al
There are two ways to apply a newly created kernel, which can be done in any way.
How to replace an existing kernel file
First, rename the copied kernel image to kernel.img.
This is the kernel name recognized by Raspberry pi, which depends on the model. Details can be found at the following link:
$ mv zImage kernel.img
Then back up the existing kernel with the name .org, copy the new kernel, and reboot.
$ sudo mv /boot/kernel7.img /boot/kernel7.img.org
$ sudo cp kernel7.img /boot/.
$ sudo reboot
When booting is complete, use the following command to verify that the new kernel has been applied.
$ uname -r
How to keep existing kernels and add them in config.txt
You can keep your existing kernel, create a new named kernel, and specify it directly in /boot/config.txt.
$ mv zImage kernel_w5500.img
Copy the new image to the /boot/ directory and specify the file name in config.txt.
$ sudo vi /boot/config.txt
...
kernel=kernel_w5500.img

# Save and reboot
$ sudo reboot
Create Device tree overlay
The device tree describes the hardware (SoC, Board) of the system using text with a certain grammar.
The Device tree overlay is a way to add a device tree fragment for an optional component, with a default device tree associated with the SoC.
A detailed description of the device tree can be found at the link below.
The dts code can be found in the attached github repository.
When you have finished creating the dts file, compile it with dtc and copy it to the /boot/overlay directory.
# dts compile
$ dtc -I dts -O dtb -o w5500-overlay.dtb w5500-overlay.dts

# copy the dtb file
$ sudo cp w5500-overlay.dtb /boot/overlays/.

# Add to config.txt
$ sudo vi /boot/config.txt
(add this to last line)
dtoverlay=w5500
And reboot the RPI zero.
$ sudo reboot
Almost everything is done now. After compiling, you can activate the module copied to RPI zero.
$ sudo insmod w5100.ko
$ sudo insmod w5100-spi.ko
When the driver module is successfully loaded, a new ethernet interface is created as shown below.

If you look at the newly created eth0, you can see that the mac address set in dt overlay is applied.
At this time, in order to receive IP automatically, it must be connected to an AP (router) supporting DHCP.
Checking and testing
The simplest way to verify operation is ping test.
Try to ping down the existing wlan0 interface and enable only eth0.
I tried to ping the same band of PCs.
$ ping 192.168.50.80

You can verify that the ping works well through the newly created ethernet interface.